Crypto Infrastructure
Celestia Light Node Guide: Run Data Availability Sampling (DAS) Nodes
Learn how to deploy and operate a Celestia light node: configure Data Availability Sampling (DAS), verify 2D Reed-Solomon shares, and support modular rollups.
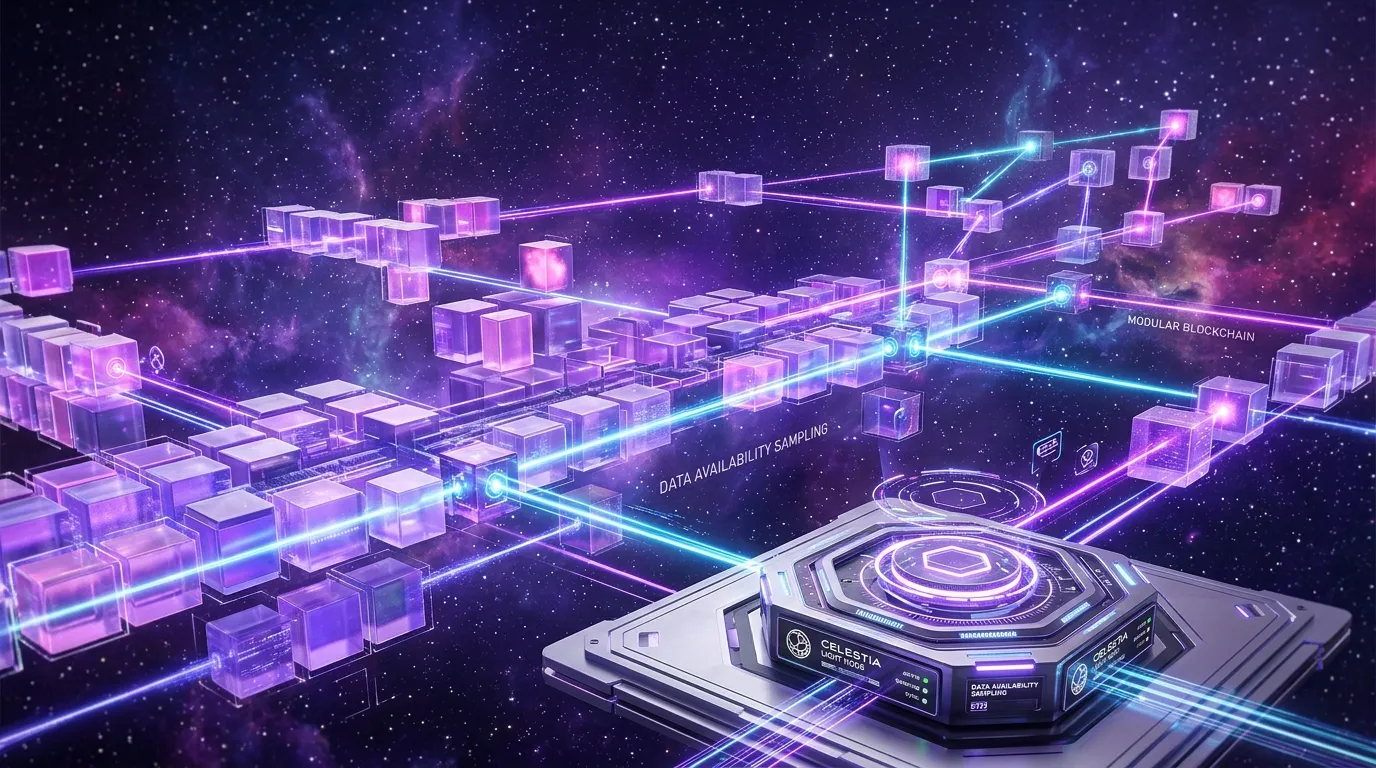
In traditional monolithic blockchain networks, verifying that block transactions are valid and that block data is publicly available requires running a heavyweight full node. Monolithic full nodes must download every block transaction, execute all smart contracts sequentially, and store hundreds of gigabytes of cumulative state. As block sizes increase to accommodate higher transaction demand, consumer hardware gets priced out of consensus verification, jeopardizing network decentralization.
Celestia reimagines this paradigm by establishing the world’s first modular data availability (DA) blockchain. By decoupling execution from consensus and data availability, Celestia does not compute smart contract transactions. Instead, its sole purpose is ordering transaction payloads and guaranteeing that data is published.
Crucially, through Data Availability Sampling (DAS), anyone can verify Celestia blocks with high mathematical certainty using lightweight clients running on inexpensive hardware—including low-power cloud VPSs or single-board computers like a Raspberry Pi.
In this tutorial, we analyze the cryptographic foundations of 2D Reed-Solomon erasure coding and walk step-by-step through deploying and managing an official Celestia light node.
For deeper insights into data availability solutions, review our breakdown of EigenLayer AVS operator nodes and our overview of blockchain node types.
The Cryptographic Magic: 2D Reed-Solomon Erasure Coding & DAS
How can a light node verify that an entire multi-megabyte block has been published without downloading the entire block?
Celestia employs 2D Reed-Solomon Erasure Coding:
+-------------------------------------------------------------------------+
|                Celestia 2D Reed-Solomon Erasure Coding Matrix           |
+-------------------------------------------------------------------------+
|                                                                         |
|  [ Original Data k x k ]  -------> [ Extended Matrix 2k x 2k ]          |
|  Rows & Columns Encoded            Expanded via Reed-Solomon shares     |
|                                                                         |
|  Properties:                                                            |
|  - If any 25% of the extended matrix is available, the FULL block       |
|    can be mathematically reconstructed.                                 |
|  - A malicious block proposer hiding even 1 single transaction must     |
|    withhold over 75% of the total matrix cells.                         |
|                                                                         |
|  [ Light Client Sampling (DAS) ]                                        |
|  - Light client requests a small random sample of matrix cells (~20-30).|
|  - With each successive valid sample proof, the probability that the    |
|    data is available approaches 99.9999%.                               |
+-------------------------------------------------------------------------+
Because sampling only requires downloading a few kilobytes of Merkle proofs per block, light nodes achieve equivalent data availability security guarantees as full archival nodes while consuming negligible network bandwidth and storage.
Hardware and System Requirements
Because a Celestia light node performs Data Availability Sampling rather than transaction execution, hardware requirements are remarkably modest:
| Component | Minimum Specification | Recommended Production Setup |
|---|---|---|
| CPU Architecture | 1 Core (x86_64 or ARM64, 2.0 GHz) | 2 Cores (2.5 GHz+) |
| System Memory (RAM) | 2 GB RAM | 4 GB to 8 GB RAM |
| Storage (Disk) | 50 GB SSD | 100 GB NVMe SSD |
| Network Bandwidth | 10 Mbps symmetric internet | 50 Mbps+ unmetered link |
| Operating System | Ubuntu 22.04 LTS / Debian 12 | Ubuntu 22.04 LTS x86_64 |
Step-by-Step Deployment: Celestia Light Node
Follow these instructions to configure and run the official celestia-node light client on the Celestia Mainnet (mocha-4 testnet steps are identical with parameter substitutions).
Step 1: System Preparation and Tooling
Update your host system and install the required build packages:
sudo apt update && sudo apt upgrade -y
sudo apt install -y curl tar wget clang pkg-config libssl-dev jq build-essential git make ufw
Install the Go programming language runtime (version 1.23+ recommended):
cd /tmp
wget https://go.dev/dl/go1.23.2.linux-amd64.tar.gz
sudo rm -rf /usr/local/go && sudo tar -C /usr/local -xzf go1.23.2.linux-amd64.tar.gz
echo 'export PATH=$PATH:/usr/local/go/bin:$HOME/go/bin' >> ~/.bashrc
source ~/.bashrc
go version
Step 2: Install the Celestia Node Binary
Fetch and compile the official celestia-node codebase:
cd $HOME
rm -rf celestia-node
git clone https://github.com/celestiaorg/celestia-node.git
cd celestia-node
git checkout tags/v0.20.4 # Check for latest release tag
make build
sudo make install
celestia version
Step 3: Initialize the Light Node
Initialize the node configuration for Celestia Mainnet (celestia network flag):
# Initialize node state directory and key store
celestia light init --p2p.network celestia

# The initialization will output your new node wallet address and key backup
# Securely write down the 24-word recovery mnemonic!
Step 4: Configure Trusted Consensus RPC Endpoints
A Celestia light node communicates with Celestia consensus full nodes (bridge or full consensus nodes) to retrieve block headers and verify Merkle roots.
Configure a trusted gRPC/RPC endpoint in $HOME/.celestia-light-celestia/config.toml or launch with the --core.ip argument:
CORE_RPC="https://rpc.celestia.pops.one:443" # Or your own dedicated Celestia consensus nodeStep 5: Automate via Systemd Daemon
Set up a resilient background service daemon to keep your light client sampling continuously:
# /etc/systemd/system/celestia-light.service
[Unit]
Description=Celestia Light Node Daemon
After=network-online.target
Wants=network-online.target

[Service]
User=root
ExecStart=/usr/local/bin/celestia light start \
  --core.ip https://celestia.rpc.stakin-nodes.com \
  --p2p.network celestia \
  --gateway \
  --gateway.addr 127.0.0.1 \
  --gateway.port 26659
Restart=on-failure
RestartSec=5
LimitNOFILE=65536

[Install]
WantedBy=multi-user.target
Enable and start the system service:
sudo systemctl daemon-reload
sudo systemctl enable celestia-light
sudo systemctl start celestia-light
sudo journalctl -u celestia-light -f -o cat
Verifying Data Availability Sampling in Real Time
Monitor your node logs to witness Data Availability Sampling in action:
sudo journalctl -u celestia-light -u celestia-light -f | grep "finished sampling"You will observe log outputs similar to:
INFO das das/daser.go:198 finished sampling header {"height": 2841021, "duration": "42.12ms", "samples": 16}This confirms your node has successfully contacted Celestia peers, extracted random cryptographic square coordinates, verified the Merkle proofs against the published block header, and attested that the rollup state transition data is fully available to the network.
Connecting Rollups and Querying the Local Gateway
Your light node exposes an HTTP gateway on port 26659. Developers and modular rollup sequencers can query this local gateway to verify data commitments:
# Query the sync state of the local light node
curl -X GET http://127.0.0.1:26659/header/head | jq .
By operating a Celestia light node, you actively strengthen the data availability security perimeter of dozens of sovereign Layer 2 rollups while learning modular blockchain operations.